This last couple of weeks, I’ve been making bread.
Not your common or garden bloomer loaf, either. I’ve been experimenting and been making olive and sun-dried tomato bread. And it’s lush!
Here’s how…
Put 500g of strong bread flour into a bowl, with 7g salt, 7g easy bake yeast and two tablespoons of olive oil. We keep a bottle on the side with rosemary and garlic in – I use that to give it an extra depth of flavour. Add to that chopped black olives and chopped sun-dried tomatoes. I put about a handful of each in, but it’s down to your own taste.
Add warm water until the dough comes together. This needs to be not too wet, and not too dry. Knead (either by hand or in a stand mixer with the dough hook), for about 10 minutes, or until the dough is nice and elasticy (is that even a word???).
Form the dough into a ball, drizzle a little oil to coat the dough. Cover the bowl with cling film (Top Tip – shower caps that you get in hotels are brilliant for this!). Put the bowl in a warm place and leave for an hour or two – until the dough has doubled in size.
Once that’s happened, knock the dough back, taking all the air out. Give it a quick knead, and form into a bread-like shape. Put this on a baking tray lined with greaseproof paper, and put the whole thing inside a plastic bag. Leave again to prove, and the bread will double in size once more.
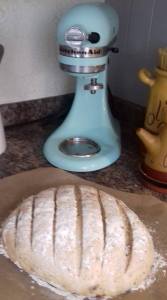
sundried tomato and olive bread
When that’s happened, sprinkle the loaf with water and dust with flour. Score the top with a couple of slash marks. This allows the bread to grow even more, and as an added bonus, looks rustic.
Preheat your oven to 220 degrees, and put a tray of water on the oven floor. This will create steam, which helps make a lovely crust.
Pop your loaf in the oven for about 25 minutes, or until nice and brown. Turn the oven down to 180 degrees and bake for a further 20 minutes. You’ll know when the bread is done – knock on its base – it should sound nice and hollow.
Let the bread cool down on a wire rack, and you’re good to go. I warn you… this is very moreish!
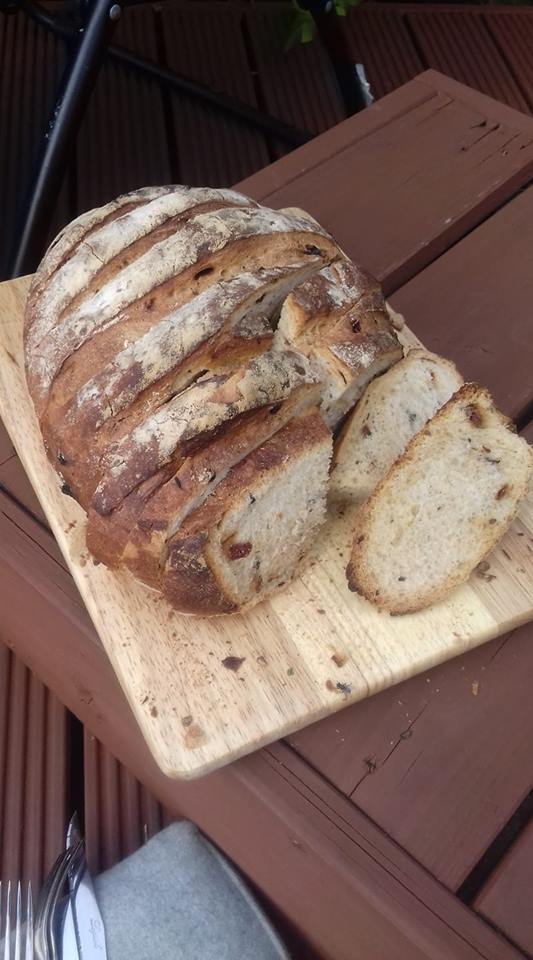
sundried tomato and olive bread